Tuesday, June 28, 2011

The Finished Skirt


It was made from a very small piece of cotton I got as a present. On the front it has a skinny blue satin waistband, side pockets in cut out of same fabric and a vent in the lower third. On the back it has two welt pockets. Its fully lined and has two snap fasteners for an enclosure. Total time taken including design, drawing, pattern drafting and cutting = 15 hours.

Wednesday, June 22, 2011

Nine Heads


For my first fashion design art class, I was taught the nine heads approach. In normal anatomical drawing, the rule is, a body is eight heads tall. In fashion drawing, a body is nine heads tall. And add 3/4 for the feet and its ten heads. So, next time some one says, 'he/she looked at me as if I had ten heads', you may interpret that they thought you were very tall. Or does the saying go 'two heads'....??


As I'd already started to make my skirt, I decided to concentrate on the design of a shirt. I got my inspiration from a cape style 1950's new look Dior dress. The first design (below left) is adapted from this with a peplum end where the skirt was. I modified this design (see below right) using colour nearest to fabric I already have.

However, the construction of the sleeves would use up too much fabric in the second design so I modified the idea one more time to make the construction easier. The chiffon sleeves are still present, but the upper chest areas is less exposed, making it more suitable for day time wear. I think I'll go with this idea.

The Grafton Academy


Not wanting to cramp my step-daughters style, I decided NOT enroll at the Grafton Academy for a month this Summer. However, after two infuriating days looking for my muse, I decided go for it, providing I was put in a different class.

I did my best to suppress the teacher in me. After one day, diligently listening more then I spoke, I learnt an awful lot from Colin my teacher. We started off with my measurements, drafting a basic block for a pencil skirt, which I altered to my design (quite primitive but I will learn how to draw better). Then I simply cut out the pattern I made myself quite a revelation to a humble dressmaker so long dependent on commercial patterns! Two welt pockets, two side pockets in contrasting material and the rest to be completed on Thursday, 23rd June.

The mission is to use up all the fabric I have lying about the place in bags before I start college this September.

Here is my first page of drawings

Monday, April 12, 2010

SPRING CLEAN episode #1

Exhibit A- Shoddy Black Raggy Cardigan


The Rag and I were painfully avoiding each other for the entire Winter. May I say the rag looked amazing in the shop (I will not give you the name but there are plenty to pick from) and cost me a guilty 139 (gulp) Euros. Yes I know, uneducated sense of luxury.

Moral of story: just because it’s black and basic doesn’t mean it will serve you well.


From a distance, it doesn’t look too bad. I’ve passed by other people wearing it, walking down the street, and I’ve looked twice. But upon closer inspection, you can see where the silver threads fall down like stalagmites, catch in door handles and around the buttons so the whole thing becomes impossible to even take off!!!


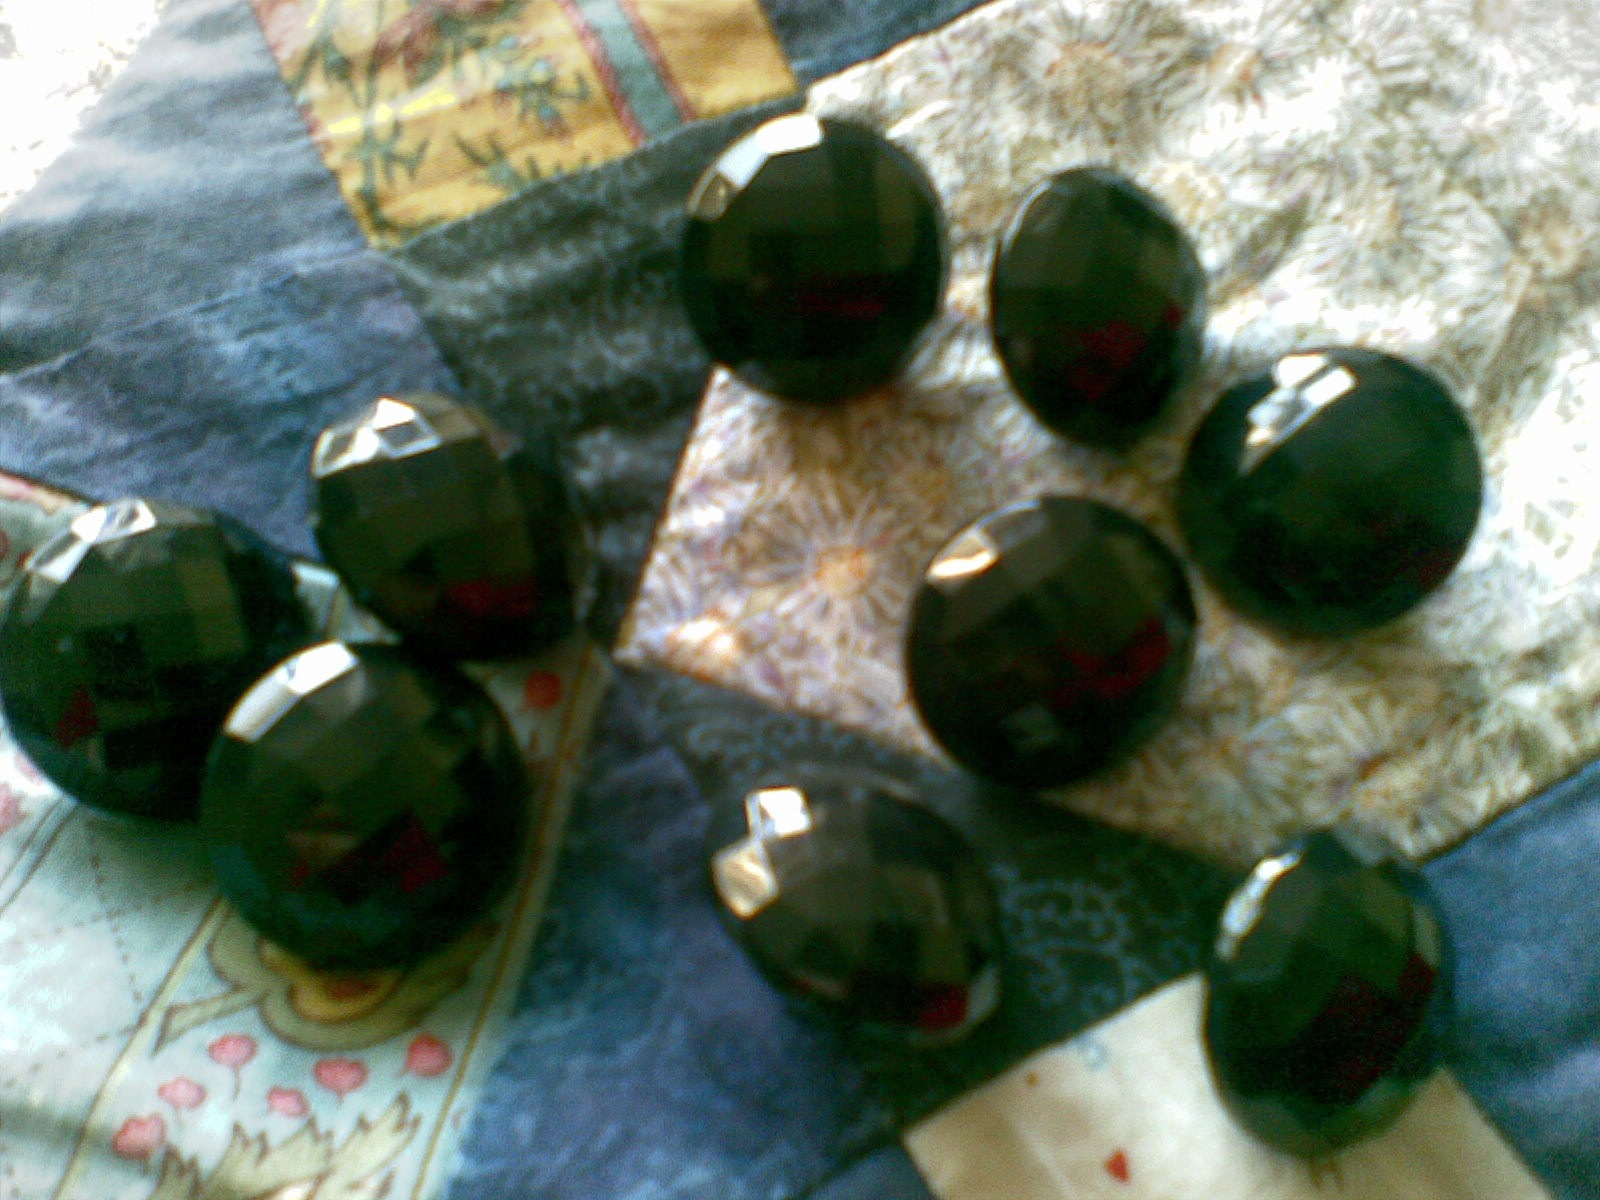
However, those buttons are quite tasty. This week I gleefully cut them off and they now look as edible as liquorice toffee’s.

Saturday, April 10, 2010

THIS JUST WON'T DO!


Here is a dress I made to go with The Bolero (see March 2010) in indigo satin back crepe, a most snaggable unravelable fabric when working with the satin side faced towards you . There are a few things I learnt from this project, or rather, I have identified areas that need improvement and research.


Firstly, if you look closely at the bodice, you can see it buckling around the bust area. This happened because (a) it was a difficult shape to work with anyway (b) because my iron was too hot (c) I applied too much pressure for too long and (d) my impatience (this is bad for U Seam Nice). Take note my friends, the iron can shrink your cloth and erase all your precise labours in one fell swoop of molded and baked molten aluminum.


Secondly, although I used an invisible stitch for the hem, I might have been better off doing a Hong-Kong edge and using a smaller needle and thinner thread if it exists…


Thirdly, the design is based on a pattern from Burda 3/2010. The straps are 3mm indigo velvet from A Rubanesque Ltd. The dress was supposed to hold itself up especially since there is boning in it but I wasn’t so sure…See http://www.facebook.com/pages/A-Rubanesque-Ltd

INVISIBLE ZIP

I find most instructions of putting on an invisible zip very hard to follow so for what its worth, here's what I did....

1. First of all, I replaced the regular presser foot with a zipper foot.
2. Then I placed the two sides of the skirt, right side facing me, on a flat surface, so the top of the skirt faced away.


3. I opened up the zip and turned the left front side on the left front side of the skirt and pinned it into place.


4. I brought the needle position on the machine to the full left so that when the presser foot was placed down on top of the fabric, the stitch line would be directly beside the teeth of the zip.

5. You can see the first line of stitching here in a pale pink.


6. I then attached the right zip to the right side of the fabric and sewed the zip in place using the same method as previous. (You can see where I have pinned the open seam below).

7. You then sew the seam below and press the zip and the seam flat. The stitching looks a bit crooked on the zip but it’s only because of the bubbling effect of the jacquard. Okay, I was a bit half hearted about this project but do read on please.

8. Finally, I used a zig-zag stitch to finish off the rough edges of the fabric where it met the zip. Its also important not to have too many stray threads hanging around because they’ll get caught in the zip.


Tuesday, April 6, 2010

CHANGE OF 'ZIPOSITION'!


Last month, I made the safari skirt Burda 3/10 (123), with two inverted pleats in a cheap yellow polyester stripe I had. It looked a bit like translucent upholstery fabric and was a very shoddy piece of cloth indeed. I’d never done a front fly zip, like you see on a man’s pair of trousers, so I decided to experiment with this cloth. It worked, but I thought it was too much effort on a simple pleated skirt and can look a bit bulky.

I wore it once, it started to rip, I cursed myself, I snarled at the lip.
I thought it would be so imperial, but I wasted cash on shoddy material.

So, I got my hands on admittedly, a wintry looking jacquard, and proceeded to make the skirt again, this time, with a simple invisible zip at the side. To do this, I cut the seam allowance off the front pattern piece and cut one piece out on a fold instead of two halves. The fabric was quite stiff and I considered cutting it on the bias (to give better drape) but I hadn’t enough cloth.


Tomorrow I will show you how I put in the invisible zip.